Table of Contents
Organic Light Emitting Displays, or “OLED” for short, have been appearing in TVs and smartphones for the better part of a decade now. However, 2019 marks the year where the display technology is starting to become much more prevalent in notebook computers thanks to improvements in the technology, manufacturing process, and greater demand. As a result, many mainstream manufacturers are now offering OLED displays as optional configurations across their premium lines of laptops.
If you are now enjoying your first OLED laptop, you might have noticed a few things right away:
- The contrast is incredibly high, with blacks appearing truly pitch-black;
- There should be no IPS glow or backlight-bleeding around the edges of the display;
- Colours seem extremely vibrant, appearing over-saturated;
- When viewing darker content such as some movies or games, you may notice what appear to be compression artifacts or “dithering”, as if you were streaming very low-bitrate video.

On an uncalibrated OLED display, numbers 20-24 may all appear as pitch black despite 24 being the only number that should be completely black. (Image credit: Cosmotography.com)
One and two are certainly benefits of the technology, where the individual pixels are lit up according to the content being displayed. In contrast, an IPS display must have a uniformly lit backlight. Three and four are things that may thrill you much less, however, and this is where this guide for Windows 10 comes in.
On your OLED TV or phone, the hardware was designed with the OLED display in mind, so it was probably calibrated fairly well from the factory, or has its own built-in software to allow you to set it up to your liking. With PCs, however, OLED is a relatively new technology, and most manufacturers have done little (if anything) to configure OLED-equipped notebooks differently from the IPS-configurations.
Luckily, there is a way to calibrate the display on your Windows 10 notebook to improve things to your tastes and content.
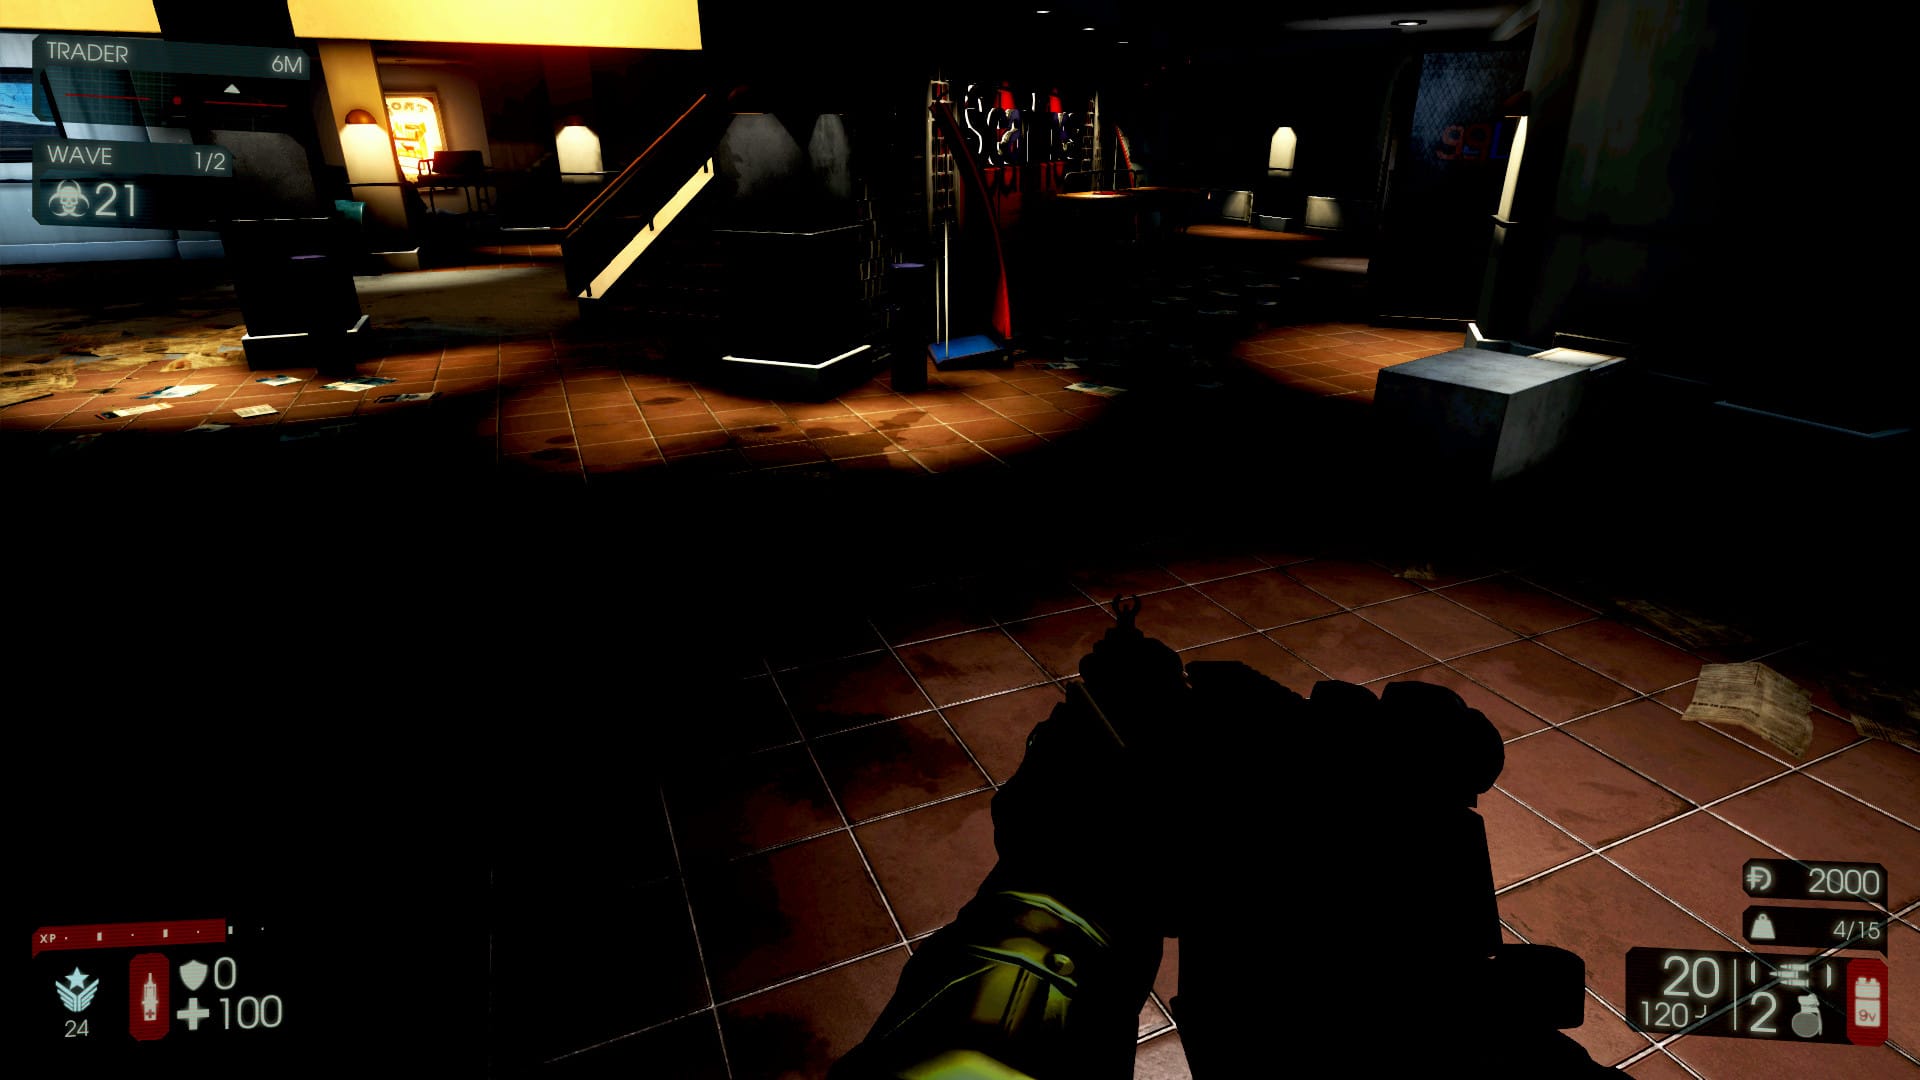
This is what we want to avoid. (Appearance of a darker game on OLED display simulated.)
The Intel HD Graphics Control Panel
Whether you are using the HD630 or you have an Optimus-configured laptop with secondary Nvidia GPU, all the tweaking will actually be conducted through the Intel HD Graphics Control Panel in Windows 10. Unlike your TV or external monitor, there are not going to be any physical controls for calibration.
To open the Intel HD Graphics Control Panel, click the search/Cortana or Start icon in the taskbar and type in “Intel”. The control panel should be one of the first results (if not, you may need to go to Intel or your computer manufacturer’s website and download the latest Intel graphics drivers). Click that and you’ll be greeted with the following (likely familiar) sight:
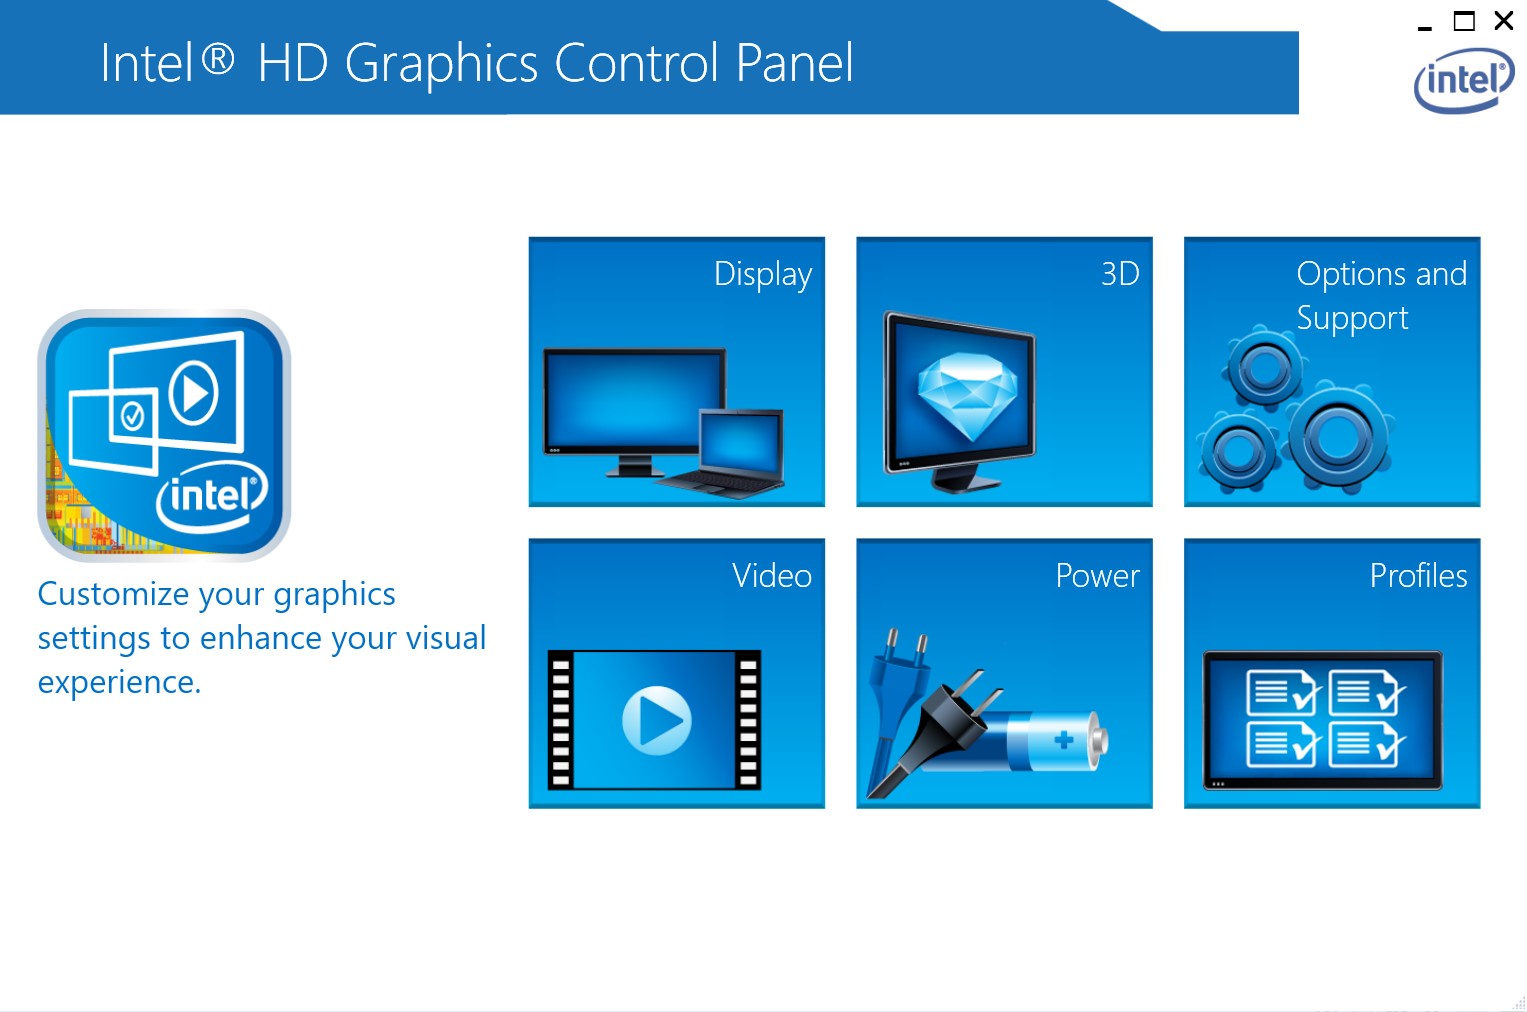
Calibration is done through the Intel Graphics software.
Now click “Display” and you should see quite a few options for adjusting the image. If this is your first laptop with an OLED display, you may notice that there are some more options available here than on notebooks with other displays.

The control panel will open to “General Settings”, but it’s the next tab of “Color Settings” that we want.
You’ll want to click “Color Settings” next, and you should see something like this if you have an OLED display:

Here is where most of the tweaking will take place.
Looking at the image below (or another calibration image of your choice), try playing around with the Contrast and Brightness sliders. Ideally, the dark greys should be visible all the way to #1 on the left of the image, and the gradients below it should appear smooth.

(Image credit: Spearsandmunsil.com)
At the very bottom of this tab of the control panel is a slider for Color Gamut, with the left side labeled “Natural Colors” and the right side “Vivid Colors”. The problem is that (on my OLED display at least) the black levels and contrast seem to be put severely off-balance when anything other than “Vivid Colors” are selected. I am not exactly sure why this is, but I suspect all the options to the left of “Vivid Colors” simply overlay a sort of filter over the whole screen, while “Vivid Colors” is the natural state of the OLED display. In my testing, the blacks and dark greys look best with the slider set to vivid, with the least amount of dithering.
However, this leads to the issue of over-saturated colors, which may bother some people. That’s why the next step should be to play around with the “Saturation” slider to slightly tame the look of the display without inducing ugly black-crush and dithering. For me, I found -15 saturation to be a good balance for my display, but you will want to test things with the kind of content you’ll be consuming most often up on the screen yourself.
The Result
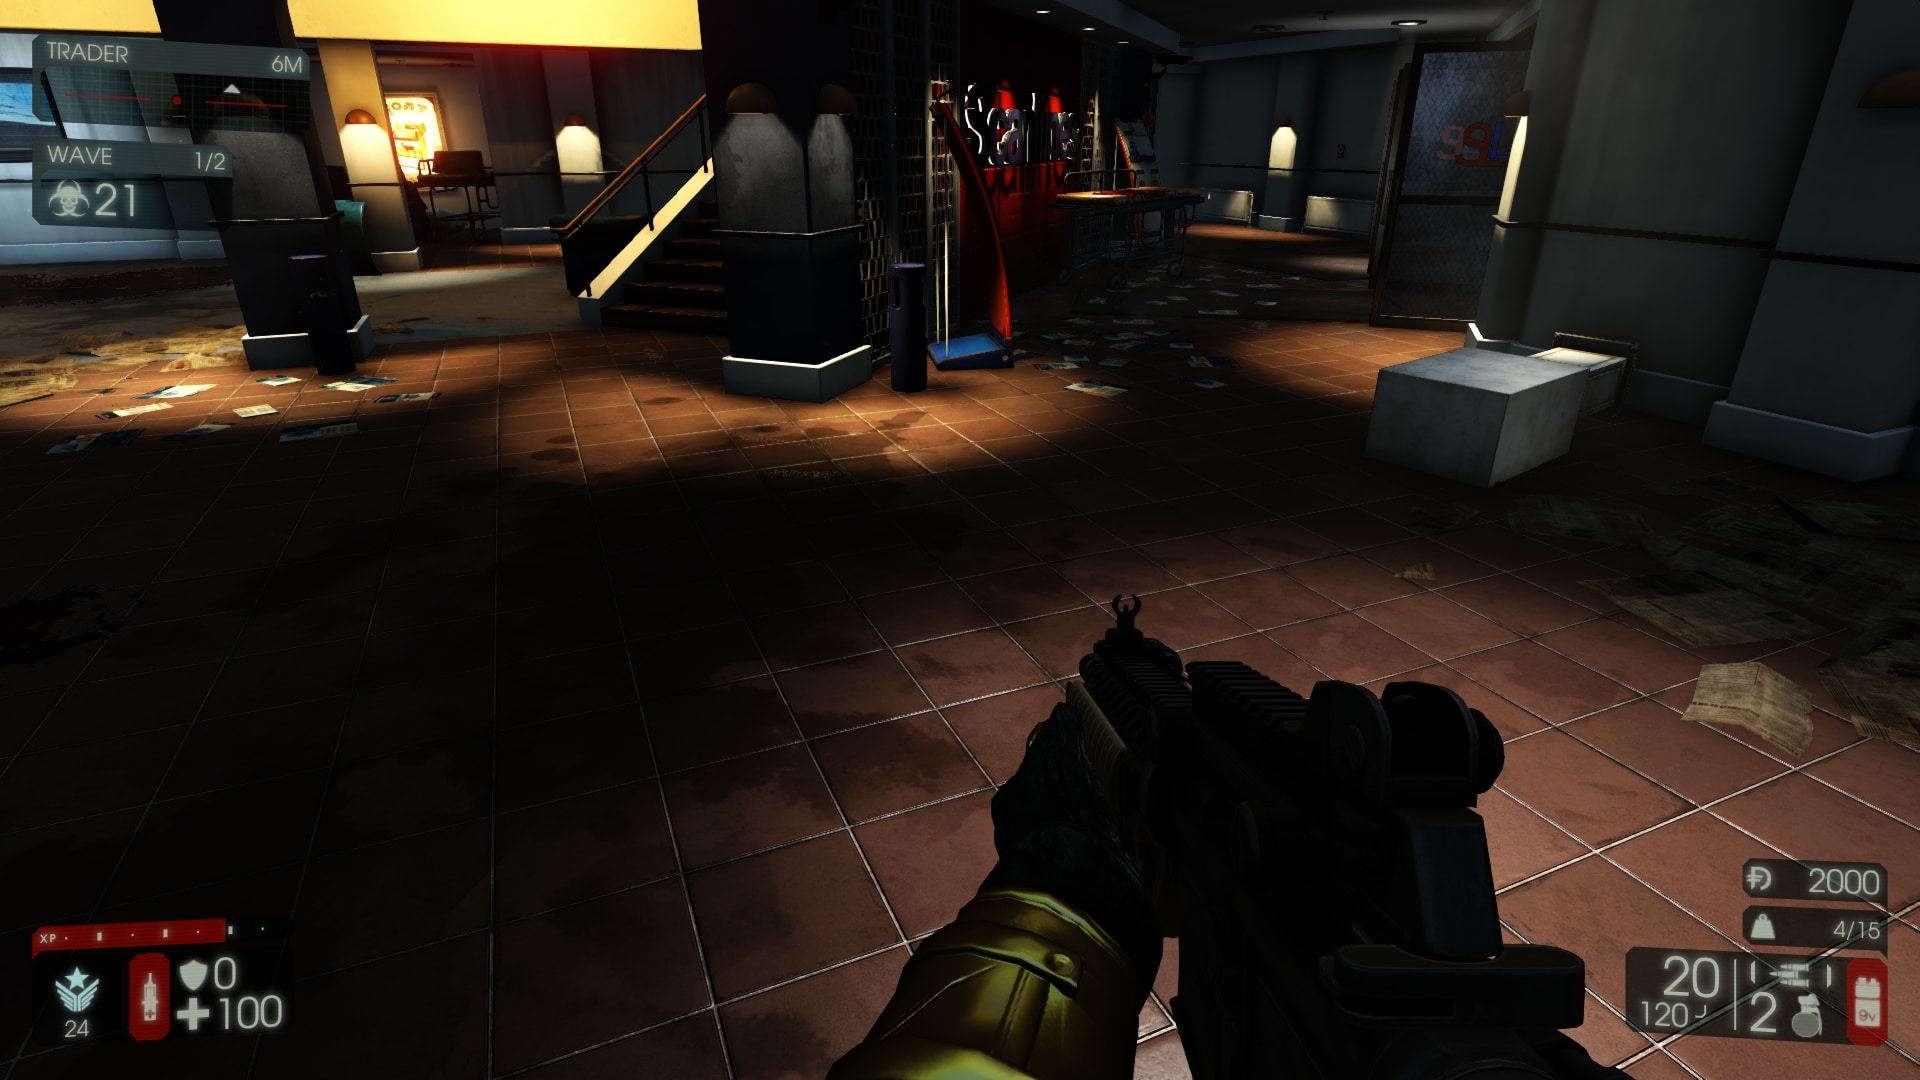
Hopefully now your content looks less like the initial screenshot in this article and a bit more like this one:
If you are still not happy with the result, you can try to see if there are more application-specific adjustments for gamma that will be used in addition to the system-wide ones we’ve set here in the Intel Control panel.
Conclusion and Feedback
There you have it! This is just a short guide I’ve drawn together based on my first-hand experiences with an OLED laptop and trying to tweak things so they look better. The technology is still not perfect, but hopefully with a combination of the Intel system settings and application-specific options, you’ll be able to get the best possible viewing experience for all your work, videos, and games. If you have any additional tips to be added to this article, please comment below!






Muc_oled
August 5, 2019 at 7:42 am
Why 59 Hz and not 60 Hz in the settings?
Douglas Black
August 5, 2019 at 7:47 am
some monitors are actually running at 59hz rather than 60
TABaracus
September 10, 2019 at 11:43 pm
Hey Douglas, I just tried calibrating the way you sugested, unfortunately the results aren't really what you would call satisfactory. Changing the brightness setting in the intel control panel doesn't only increase the brightness value of anything other than black, it actually also increases the brightness value of black. That means that if you use the brightness setting to calibrate the screen as to produce less black crush, you are actually also creating an effect similar to IPS backlight glow and basically negating the only real big selling point of the OLED panel: its truly deep black.
aenews
January 15, 2020 at 5:37 am
TABaracus. Doesn't seem to be the case for me with the Dell XPS 15 7590 (4K OLED). It's true that anything but pure black has heightened brightness, but that was the intention. Pure black is still pure black. Looks no different than having the display off. Few things are truly pure black, so are you sure that brighter blacks you noticed weren't just dark grays that were being crushed in the first place?