Table of Contents
Ever wondered whether your laptop’s vanilla 60 Hz display could be replaced with a faster 144 Hz screen? The answer seems to be a confirmed “yes” — for the Lenovo ThinkPad X1 Extreme (Gen 1 and 2) and P1, at least. Intrepid redditor and ThinkPad fan user “abgersaurus” put together a visual guide to the process a few weeks ago (see links in post).
With his permission, I’ve put together a more descriptive text guide for the operation. All credit goes to him!
The 144 Hz panel has fully adjustable brightness and can change to 60 Hz when operating on battery power. Be aware that the 144 Hz panel used here is reported to consume significantly more power than the stock 60 Hz panels Lenovo uses. You can expect up to 25% less battery life with the FHD 144 Hz display compared to the FHD 60 Hz one. While this guide is for the X1E/P1, this same process should (in theory) work with other laptops with a similar display assembly to the X1 Extreme with matte display, but it will be extremely difficult to do on any fused/laminated displays like those on the UHD XPS 15.
Disclaimer: Neither UltrabookReview nor abgersaurus accept any liability if you cause any damage to your laptop while attempting this mod. Please be careful! All images herein are abgersaurus’s unless otherwise noted. Though I have a Lenovo X1 Extreme myself, I have not attempted this mod due to the modest impact the screen swap has on battery life. Thus, if you have questions about difficulties encountered, I would recommend asking the OP directly in his thread.
Should you do this mod?
You may want to consider doing this mod for a few reasons: (1) you play a lot of fast-paced games on your laptop, (2) you don’t need to maximize your battery life, or (3) you just like modding and tinkering with technology.
Do not attempt this mod if you are not comfortable with working inside your laptop, lack the proper tools, or have never performed something like a display swap on a laptop before.
What you’ll need
- A 15″ ThinkPad X1E or P1 with a non-laminated display (FHD matte panel with a plastic bezel),
- an AU Optronics B156HAN08.2 panel (exact model),
- a 40-pin EDP cable (FRU: 01YU747),
- a set of Phillips-head screwdrivers and pry-tools,
- (optional) an extra screen bezel in case you damage the original. FRU: 01YU734),
- (optional) a hairdryer or precision heat-gun to help loosen the glue on the bezel.
Process overview
The entire process can be summarized in 7 steps:
- Disabling the internal battery
- Removing the bezel, old panel, and plastic hinge assembly
- Disconnecting the previous eDP cable from motherboard
- Connecting the new 40-pin eDP cable to motherboard and re-route it
- Swapping the new panel in and connecting it to the new eDP cable
- Reconnect battery and plug in the laptop
- Reapplying the plastic bezel once the display has been tested and confirmed to work
Now let’s get started! (Note: I have consolidated some of the above steps together, so the number of steps enumerated below are not quite the same as those above.)
1. Disable the internal battery.
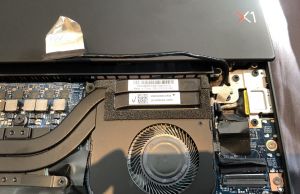
If you want to be as safe as possible, first go to the BIOS -> Power and select “disable internal battery”. The laptop will power off and will need to be connected to mains before it will allow itself to be switched back on.

The internal connector for the battery. Don’t forget to reconnect this when you’re done!
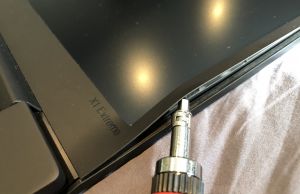
2. Removing the bezel
Be very careful when conducting this step! The plastic is a bit soft and it can be stretched or permanently misshapen if you are too forceful. I have done this multiple times on ThinkPads including the X1C and P1 using a hairdryer to soften the adhesive first and never needed a new bezel, but I could see how one could easily damage it.
Be very conservative when heating the bezel because you do not want to damage any components nearby. I would suggest using rubberized or plastic pry tools to get under the bezel (or fingernails if you don’t have tools). It will be too easy to scratch the bezel or screen using a metal tool like a flat-head screwdriver.
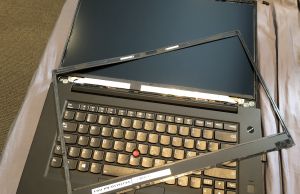
3. Removing the screen
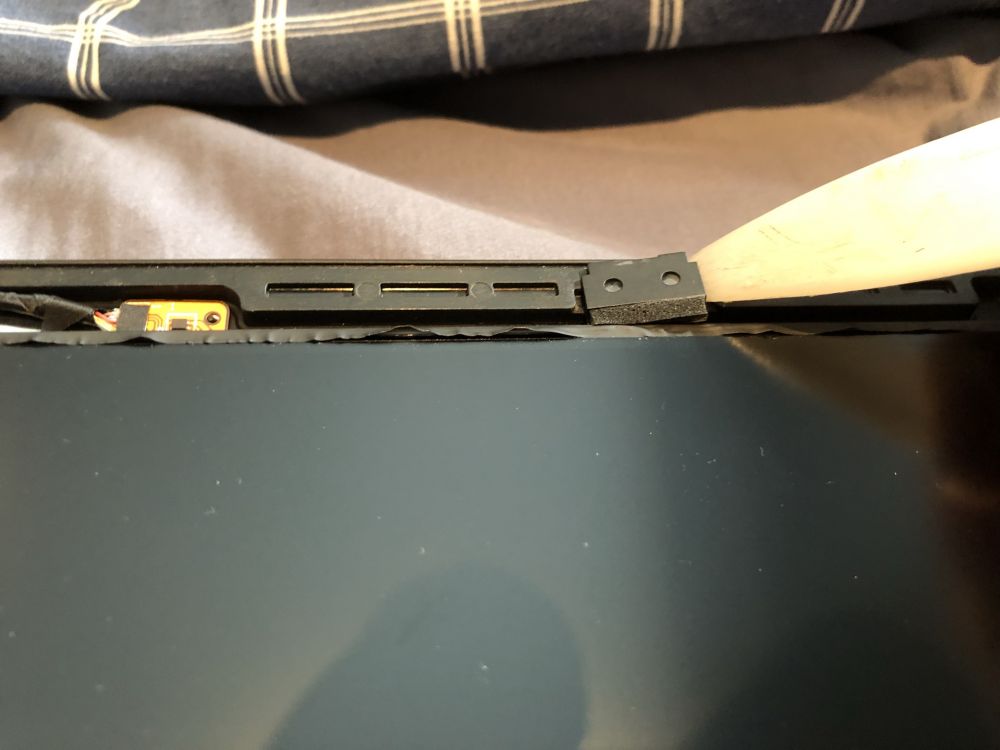
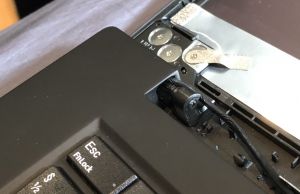
Remove the two small tabs used as bracers to keep the screen centered and in place.
Put a piece of cloth of foam on the keyboard now so the old panel can be safely rested on the lower deck without risk of scratches from the keyboard. Then let the panel rest on the lower deck.
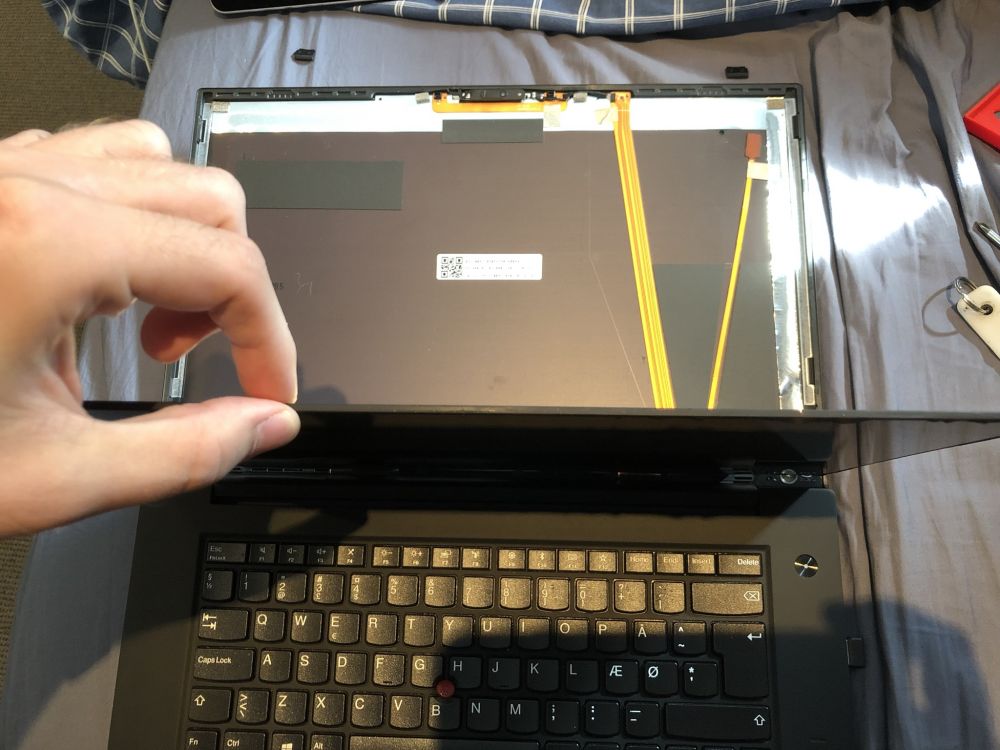
Laying the display face-down on the deck will allow access to the plastic hinge cover.
4. Swapping the display cable
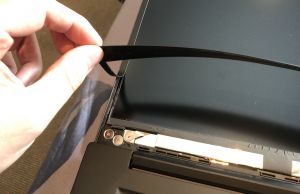
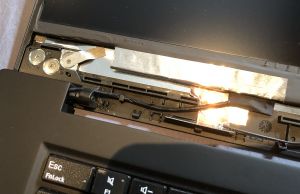
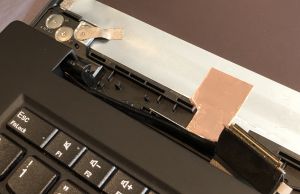
Again using a pry tool and a gentle touch, carefully snap off the plastic hinge cover by applying upwards pressure near the tabs.
- Easy does it…
- Now the eDP cable will be accessible.
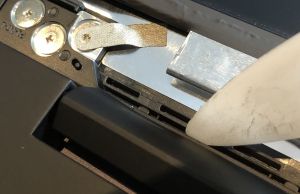
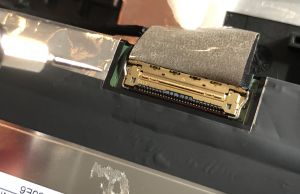
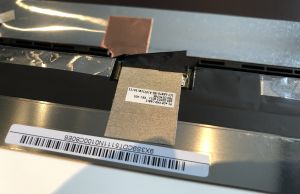
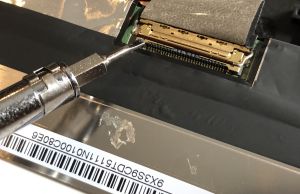
The eDP cable is connected to the LCD underneath some metallic tape. Remove the tape carefully to access and unlatch the clip as shown below, then de-thread the cable through the left side of the notch by the hinge.
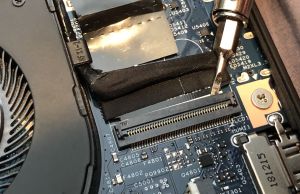
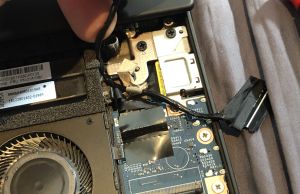
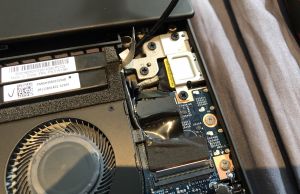
Next, you’ll need to access the bottom of your ThinkPad to remove the other end of the eDP cable that’s connected to the motherboard. As always, be careful with the delicate metal latches for these types of connectors.
Once it’s safely off, you’re now ready to swap it with your new 40-pin eDP cable!
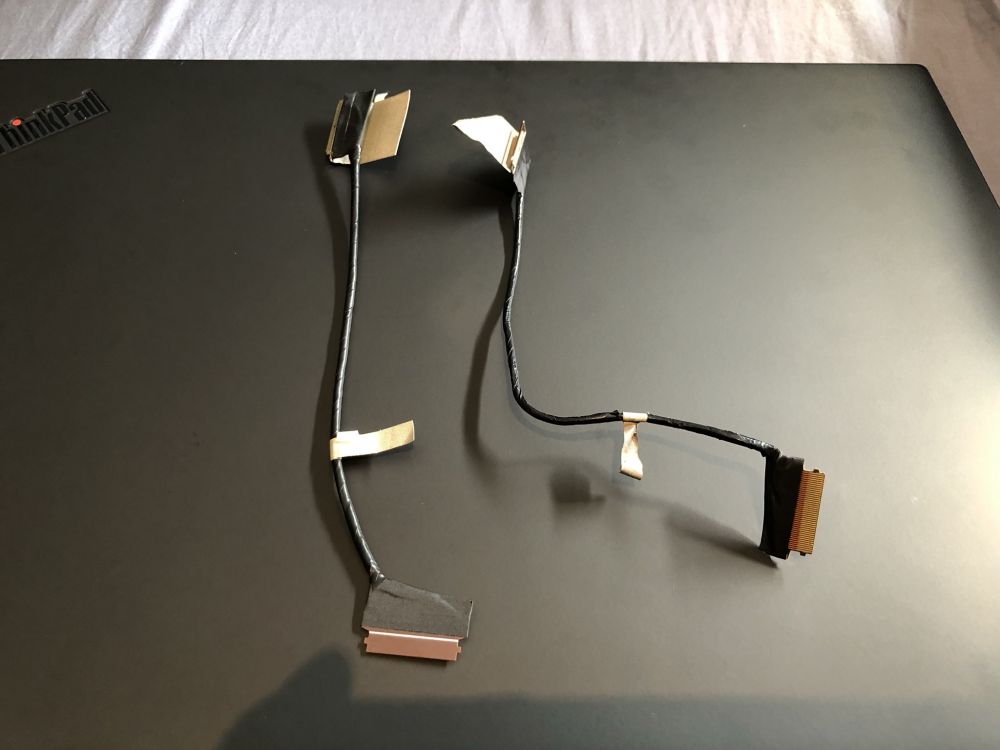
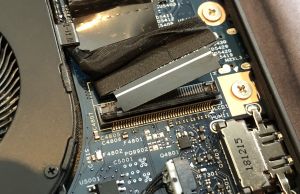
Because the 40-pin cable is a bit thicker, you will want to bend it into the approximate shape of your old 30-pin cable first.
Attach the 40-pin connector to the motherboard. Thread the cable back through the cable-routing clips and up through the hinge.
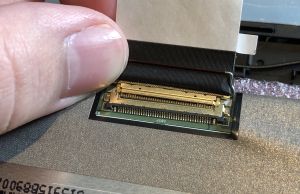
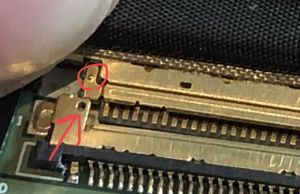
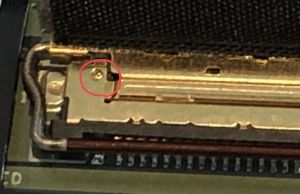
Next, attach the 40-pin connector to the new 144 Hz screen. Be very careful to make sure the small metal tabs “click” into their respective holes (illustrated in red) and the metal brace is fully lowered into place.
5. Test the display
We’re almost ready to test the screen, but first, make sure the cable is properly tucked away.
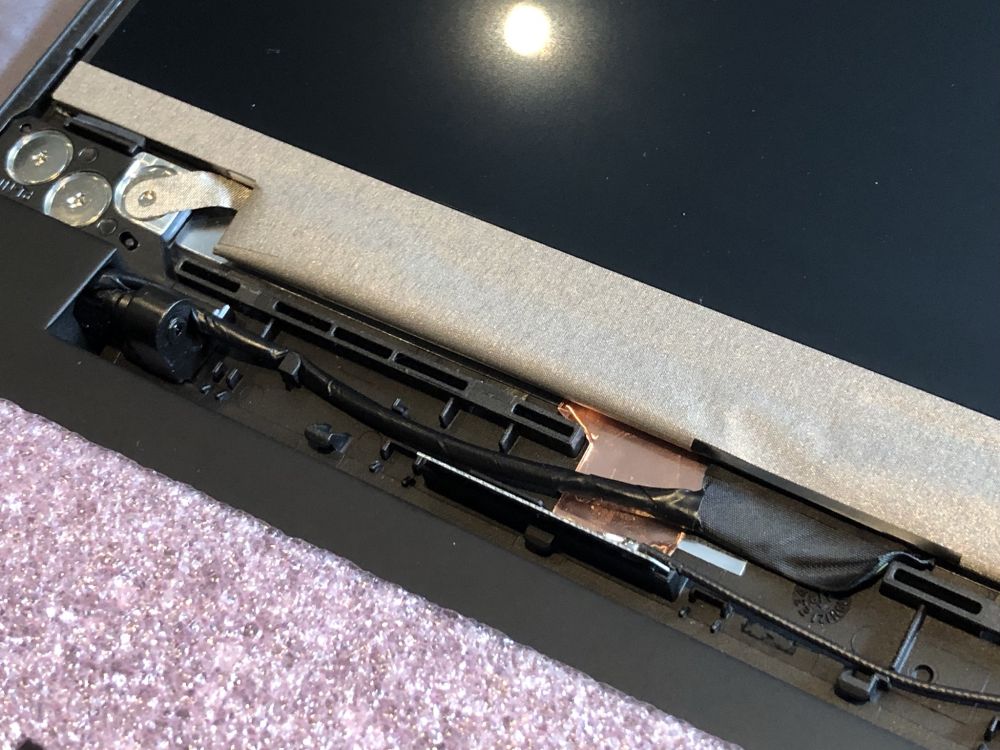
Thread the cable properly into the channel so the plastic hinge cover can properly be reseated.
Before testing the screen, you’ll need to reconnect the internal battery and plug the laptop back into AC power.
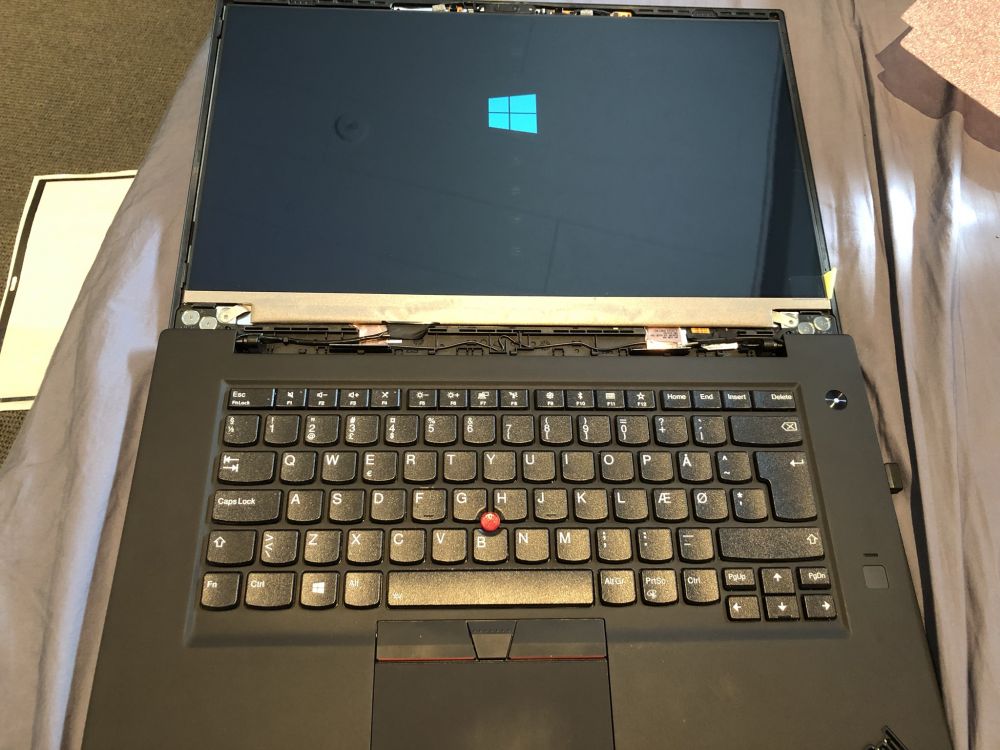
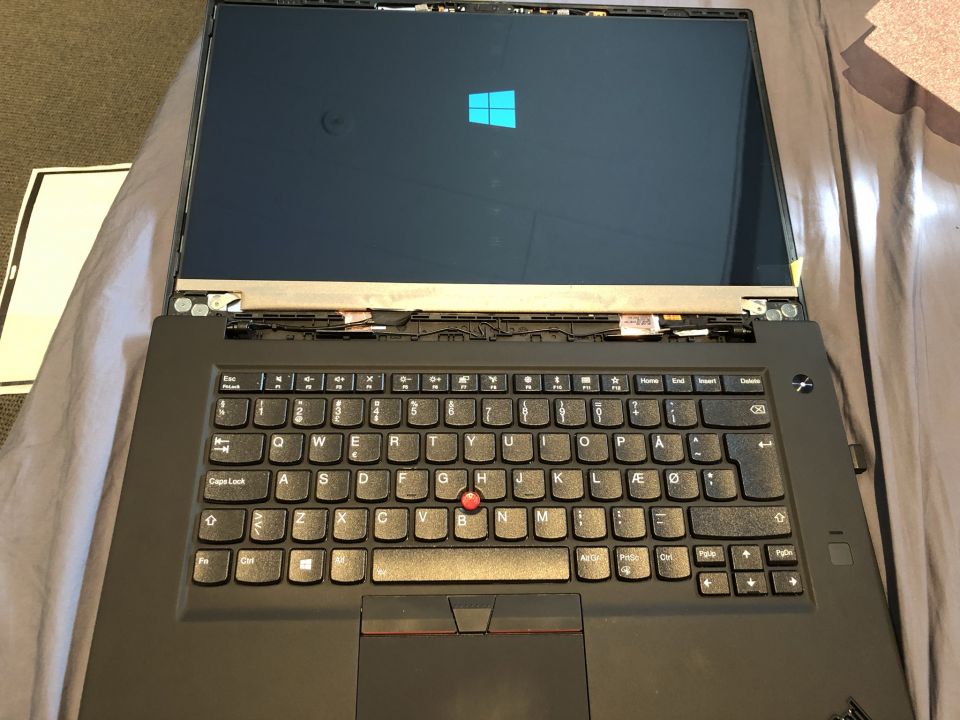
Then press the power button and the screen should function normally.
If it does not, first ensure that the power is indeed on and the laptop has booted. If it’s confirmed on but you get no picture or backlight, you may not have connected the display cable properly. Disconnect the battery after shutting down and double-check all connectors before attempting again. If it is still not working, it’s possible that your LCD panel may be defective.
6. Reassemble with bezel
Assuming everything does work properly, however, you’re now ready to put the hinge cover and bezel back on! Make sure your screen is centered perfectly before you put that bezel back on, as the adhesive is not meant to be reused many times.
Voilla! Now your ThinkPad X1E/P1 has been modded with a 144 Hz display. You should be able to change the refresh rate in the Intel display control panel to conserve power on battery.
Did you try the mod and find this guide useful? How is your battery life with the 144 Hz panel vs. 60 Hz? Let us know your experience with this mod in the comments.



abgersaurus
September 23, 2019 at 10:52 pm
awesome write-up :)
Douglas Black
September 24, 2019 at 3:11 am
Thanks for being brave for the rest of us ;)
Bryan
January 30, 2020 at 7:47 am
Thanks a lot! It's very helpful as a reference to upgrade my laptop.
Jin
March 3, 2020 at 9:07 am
Will this work with models with 4k display as well?
Please let me know. I want to do this so badly.
Douglas Black
March 3, 2020 at 4:32 pm
You could do it by getting a whole new top cover, but I don't think you can disassemble/reassemble a fused glass display
Jack
May 16, 2022 at 4:02 am
Any idea if there is much difference when applying this guide to the X1 extreme Gen 3?
Andrei Girbea
May 16, 2022 at 9:44 am
Broadly, the process should be similar. The the position of the various cables and connectors might differ for the gen 3